Showing posts with label DIY. Show all posts

This tutorial was created for Patterns for Pirates.

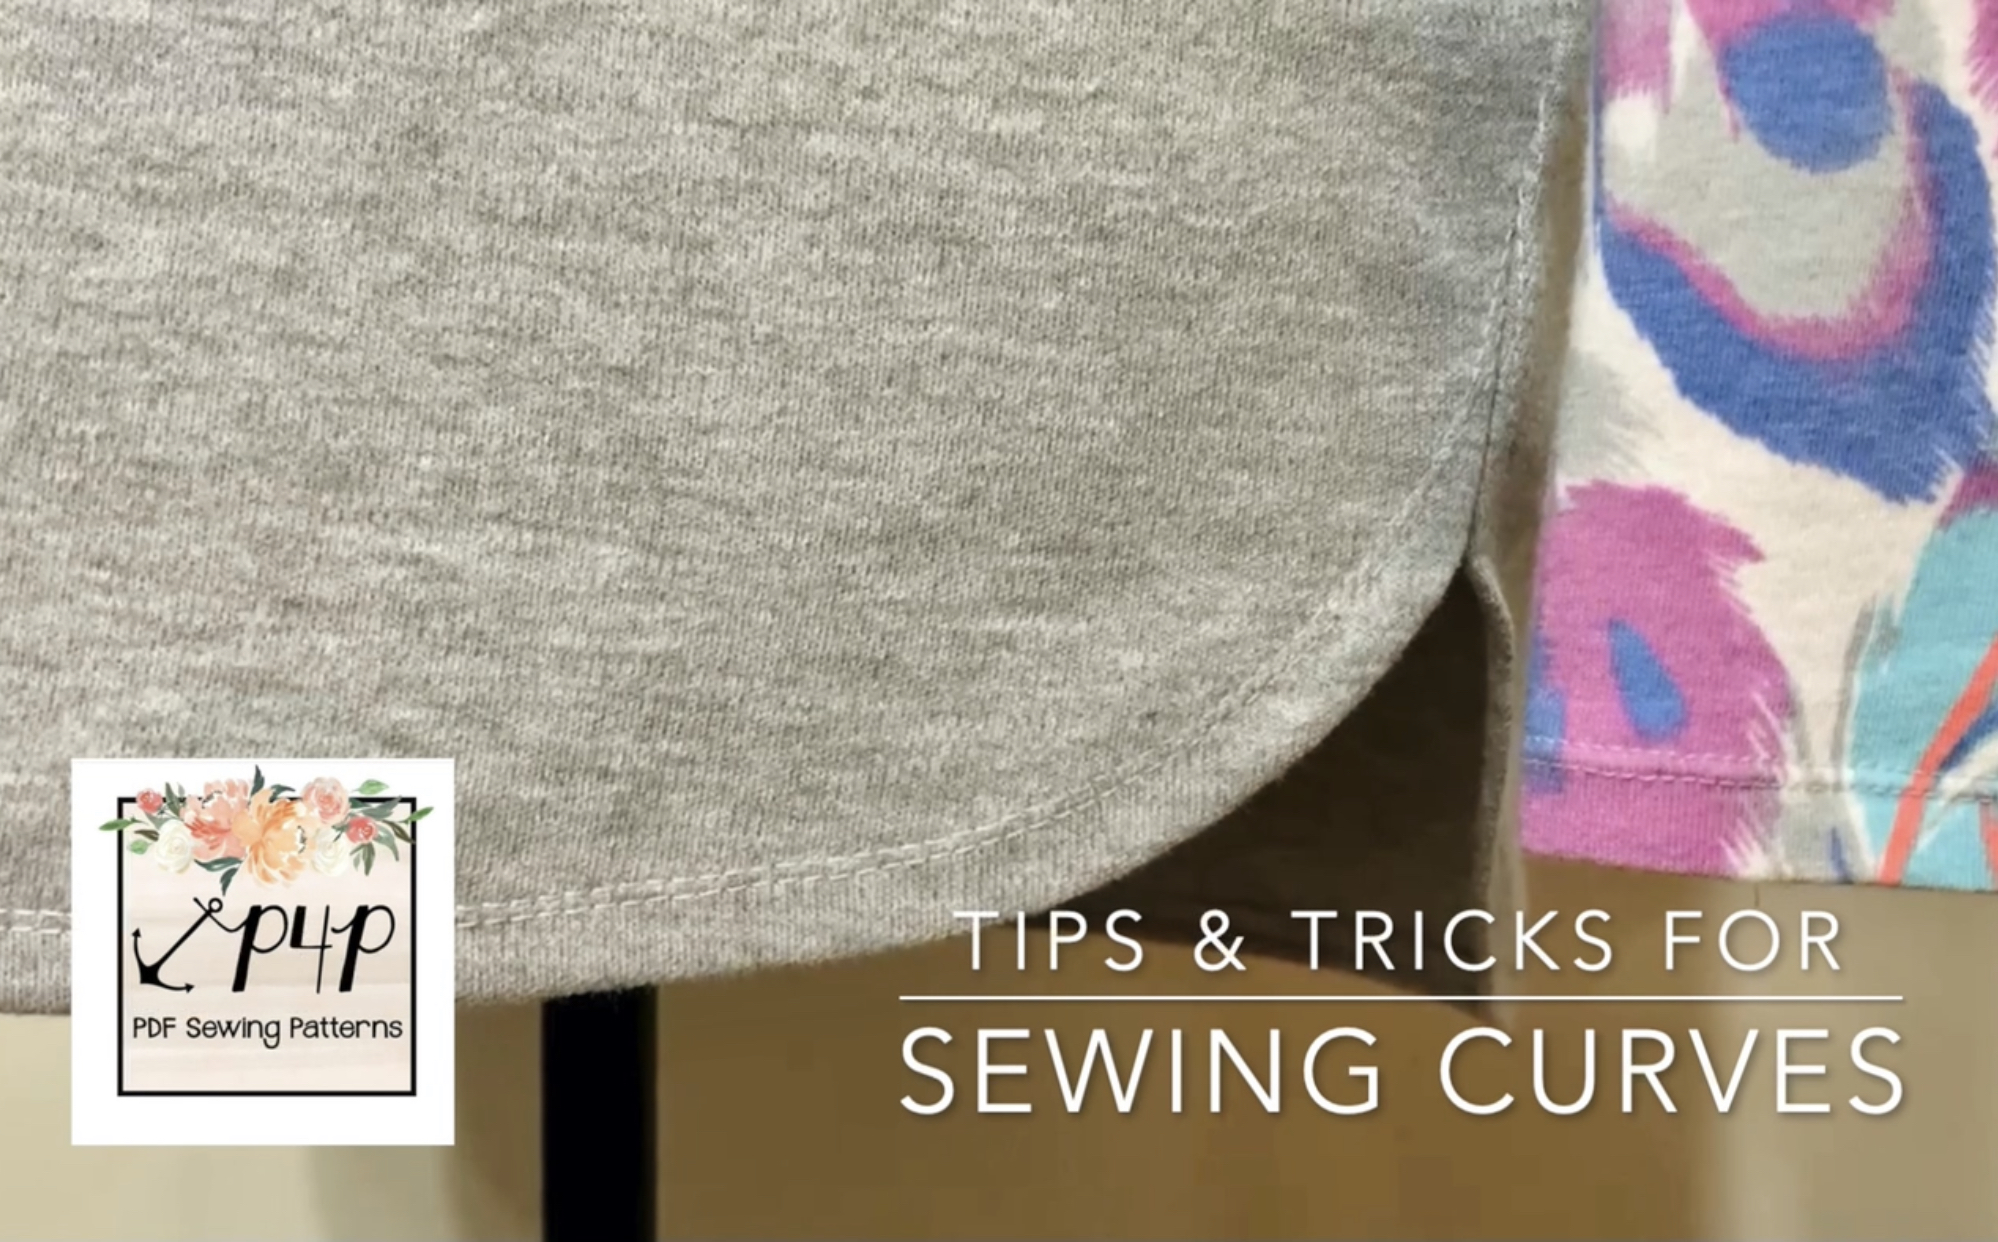
Knowing how to properly sew curves makes a huge difference in giving your garments a more professional finish! There are different techniques, whether you are sewing a convex or concave curve… think neckline versus bust. At the core, the key is all about eliminating bulk and resistance so your curves can lay as designed.


Clip The Seams

The first technique works for curves, like necklines, that require the fabric to spread in an array. It’s simple!


Once you have your pattern pieces stitched together, clip into the seam allowance every half inch or so. Take good care not to snip through your seam!


You’ll notice that the fabric relaxes because the tension in the curve is gone!


To demonstrate, I’ve added a facing to the neckline of the Brunch Blouse. After stitching together and clipping my seams, I turned the facing to the inside of the shirt and gave it a good pressing.


Look at that result!


Grab Those Pinking Shears

Pinking shears can pretty much do it all… they can reduce bulk and relieve tension in your curves. Even more, they stop fabric from fraying!


To demonstrate, I’ve stitched up the front bodice of the So Classic Sundress. This gorgeous pattern features princess seams. You definitely want to reduce the bulk in those princess seams that run right along the front of your bust!


After stitching my pieces together, I trimmed the seam allowance with pinking shears and pressed the seam open.


Here’s the result!


Your Serger is Magic


Once I learned how to gather on my serger, I wanted all the ruffles! It turns out that you can also make small adjustments that will help you to achieve the perfect curved hem on knits.


All you need to know… turn up that differential dial! You’ll want to test on a few scraps to determine how much to adjust the dial.


In this instance, tension is your friend! You want to create slight tension along the raw edge of your hem. That will cause the hem to naturally turn inward and help you to maintain that beautiful curved edge without fighting fabric folds. All you have to do is pin and stitch!


My fabric was a heavier knit so I adjust the differential feed all the way up. A lighter knit wouldn’t require the same adjustment.


Again, once I learned this trick, it changed my relationship with curves! I love it.


I hope you find these techniques helpful! 


Oh! And here's the finished result of the Brunch Blouse that I was working on in the first step.


Happy sewing!

I didn't expect to totally fall in love with Patterns for Pirates latest release, the Women's Loggers, but P4P knocked it out of the park again with a design loaded with options.

{ICYMI, Loggers are the love child of leggings and joggers...}


After making a pair of loungewear shorties and a pair of full-length pants from the pattern, I couldn't shake the vision of swim shorts for paddle-boarding.

I had a load of swim fabric on hand already. My pattern was already assembled from my previous makes. An opportune hour of free time smiled my way. Before I knew it, I had these adorable new shorties in my life.


{No cats were harmed in the making of these Loggers.}

I wasn't prepared for the overwhelming reception by the amazing P4P community of sewists. Many asked for the pattern hack.

So, here we go! Let's make swim shorties!
  1. Cut the pattern pieces per the pattern instructions.

  1. Cut two additional strips of fabric, 1.5" x 36". These will be your side ties.
  2. Sew together each of your center seams, leaving the outside leg seams open.


  1. Fold and press your leg bindings in half and attach to bottom of leg openings. Be sure to match your center points on the binding and legs. The center point of each will not line up at the center seam.

  1. With right sides together, sew a 5/8" seam along the outside leg seams and press open. Do not use a serger for this step. You are creating casings for your side ties.

I chose to finish my raw edges with a serger, but this is not required.
  1. Create a casing on each side of each outside leg seam by sewing a 1/2" seam. This will secure the edges and provide a new home for your side ties.


  1. Create your ties by sewing the right sides of your fabric strips together. Turn to the right side with your favorite turning tool. Cut each strip in half so that you have four ties.

  1. Insert one tie into each casing and secure the top edges in place with a basting stitch.

  1. Attach your choice of Logger's waistband options per pattern instructions.
  2. Once you try on and ruche or gather the edges to your preferences, tie a pretty side bow and cut the tie length to your liking!


And you're ready to have the cutest booty on the lake!

If you have any questions, please feel free to reach out to me. I'll be happy to help.

One last note... if you post your makes to social media using the hashtag, #loggers, be prepared for a rash of unusual new followers who cut down trees for a living.

True story.

Pardon my brief Grinch moment...

I have always boycotted Valentine's Day. I mean, why do we need a singular day in the year to celebrate love? Answer: we don't. It's a Hallmark holiday, designed to pressure lovebirds into thinking they have to spend lots of money and make grand gestures to show their significant other how much they care.

Bleh.

That's how I've ALWAYS felt. 

That is... until I met this guy and my heart grew three sizes.


For the first time EVER, I'm actually looking forward to Silly Love Day and all of the hoopla that comes with it! Apparently, we have an entire weekend of surprise festivities planned so, naturally, I need a new romantic wardrobe to go with it.

You understand me.

Up first... the Adrienne Blouse.


I've been dying to make Friday Pattern Co's newest design! It doesn't get more romantic than this simple knit top.

How gorgeous!!


At first glance, how complicated do you think this is to make? Three pattern pieces, a knit with great drape, and a bit of elastic was all it required. I cut a Size Small and made no adjustments. From cut to hem, this top works up in an hour or less!


I used Phee Fabric's amazing rayon spandex in cherry. You're not tired of hearing me rave about Phee's rayon spandex yet, are you? Because it really is frickin' amazing. The weight, the drape, the feel... it is the perfect fabric. I actually have some emerald green set aside for another Adrienne. 

Next up... the Joni Jumpsuit!


Are you pro-jumpsuit? I sure am. Yes, they're a helluva lot of trouble to get in and out of in a  bathroom emergency, but they are so chic!

When I saw the Joni, I knew it would be the perfect year-round staple for all occasions. From grocery store runs to girls night out... it is a GREAT silhouette.


I made mine out of Phee's supplex in navy. There are a lot of things you can make with supplex and most of them involve exercise of some sort... but let me tell you... this jumpsuit in this fabric is REALLY going to step up my errand run fashion.

And, believe it or not, I made the straps out of rayon spandex. Melissa, the owner of Phee Fabrics, does an amazing job of coordinating her fabrics across textiles. These navy fabrics are almost perfect matches! I thought the straps would be easier to tie in a softer, stretchier fabric. And, they are.


I made a lot of assembly corrections along the way. Unfortunately, I wasn't pleased with how it came together when I used the pattern instructions so I RIPPED OUT ALL OF THE SEAMS and started again.

I'm going to hold out on showing you all of the assembly differences that I made and invite you to join me for a Sew-a-Long in April, hosted by Phee Fabrics. Stay tuned for dates and details. And, if you haven't joined the Phee Sew-A-Long group, be sure to do so now. There are a lot of fun events coming your way.

While it's still not perfect, I am really excited to have this fun addition to my wardrobe. I decided to make this one a kick length, just for a little extra flare.

And look at the two garments paired together! I absolutely love this look. It is so retro-chic. I would wear this ANYWHERE!


I honestly could not be more pleased with these two garments. The kick length of the pant leg is on trend. The back ties and exposed zipper makes the jumpsuit just as interesting from the back as it is from the front.


Consider me Valentine's Day ready! I am going to LOVE wearing them for our special weekend away.

Follow me on Instagram to find out where we wind up... it will be a surprise for me, too!


After all of these years of making, I have never sewn a costume for myself. I've just never had much of a reason to dress up on Halloween or for any other event. However, this year, my brother nearly had me convinced to attend DragonCon in Atlanta. I wasn't able to attend, but the invitation started my brain thinking about creative costumes.


I'm personally much too practical to invest my time and energy into garments that can only be worn once or twice per year so I began searching for ideas that I could incorporate in my regular routine.

That's when I remembered Pearl, from a Cartoon Network show called "Steven Universe." My kids used to watch it... I have no personal affinity for the show or the character. I felt, though, that her character could easily translate into multifunctional additions to my own wardrobe.


{Not only that, her character seems pretty high on anxiety... she may actually be modeled after me!}

All I needed to sew was a cute peplum top and a pair of tangerine shorties. I matched it with a pink wig and socks, both purchased from Amazon, and attached a little yellow felt star with double-sided fashion tape.

I made the top by mashing together the Made for Mermaids Mama Fiona and Mama Joy. I gathered the peplum, rather than pleating. I self-drafted the funnel neck by increasing the neck binding by three times the width of the pattern.


I used a dreamy circular knit from Phee Fabrics for the top. It was my first experience with the fabric that everyone adores. And, I have to agree, not only does it feel amazing, it worked up like a dream. It is the perfect fabric for activewear and daily wear alike!


The pants I'm wearing here are also me-made... Vogue 1517 by Anne Klein. These pants really deserve their own post. MAJOR learning curve to share!


For the shorties, I used the Patterns for Pirates Peg Legs pattern and lengthened the inseam by two inches. I actually made these twice... the first time with a gusset. And, holy moly! The fit was so terrible on me that I was embarrassed to look at myself in the mirror. Thank the sewing gods that I had just enough fabric to complete a second pair - sans gusset!


I used a gorgeous nylon/spandex tricot in tangerine for the shorties. This is the perfect performance fabric! As a runner, I will definitely get a lot of use out of these cuties! This was my second project using tricot and it won't be my last! Word of advice when making these shorties with tricot - size up, ladies! This is a compression fabric.


My last accessory was my very own little Steven Universe. He was super excited to channel the energy of his character and decided that bubbles were a must have in our quick photo shoot.


I really couldn't be more pleased with the outcome of this month's sewing challenge. I loved the opportunity to think creatively about how to assemble a costume that will blend into the everyday.

And, who knows, it may get to make an appearance at DragonCon 2019.

What's on your cutting table for Halloween this year? Please tell me all about it!


I did it, y’all.

I made my own bikini.

Plaid Fabric: Nylon Spandex || Lining: White Techsheen
Notions: Amazon

One of my Me-Made-May 2018 goals was to create something that I’ve never made before. Phee Fabrics issued the challenge and made it easy to find all of the fabric that I would need. Jalie provided the pattern and amazing instruction. Wine gave me the confidence to take these photos.


{Just kidding... I didn't really drink. Much.}

In going through this process and preparing for Phee FabricsSwim Week, I’ve been more aware of the gorgeous women in my sewing groups – real women – of all ages and body types, rocking their “me-made” swimwear with confidence and glamour.

What really takes these swimsuits up 10 notches is that they are custom made to fit each individual’s curves – or in my case, lack thereof. How lucky are we, as members of this international sewing community, to have the basic skills to make our own swimwear?! We’re not confined to the pre-sized boxes that the fashion industry tries to place us in!


 It’s pretty darn empowering. And soooo much easier than I expected.


In my heightened state of swimwear awareness, I was pretty upset by the recent ageist drama over the Instagram post of 47-year-old Kelly Ripa in a bikini. One comment read, "Kelly's gorgeous, but isn't there a cutoff age where age appropriateness comes into play? Just because you can rock a bikini, doesn't mean you should."

I’m sorry, what?

Having just turned 40 myself, I began to reassess everything… is there some implicit code of swimwear appropriateness for women over 40? Who makes these rules? Would I suddenly be shunned at the pool for my love of playful prints, obnoxiously bright colors, and – yes – bikinis?

That moment quickly passed as I came to my senses and, ultimately, felt really sorry for the person that posted that comment. Age isn’t really the issue here. You know she’s struggling with her own ready-to-wear swimsuit. Gaping cups, see-through fabrics, and bottoms that ride up are definitely worth getting mad about.


I’ll think about her as I’m rocking my own wedgie-free bikini on the beach this summer… at the age of 40.


No more excuses, ladies! You can do this, too. Visit the Phee Fabrics blog during Phee Fabrics Swim Week to see more inspirational swimwear, read about others' tips and tricks for sewing your own, and buy all of the yummy fabric you need to make it happen.

Go forth and make yourself a swimsuit!!!