Showing posts with label Patterns for Pirates. Show all posts

This tutorial was created for Patterns for Pirates.

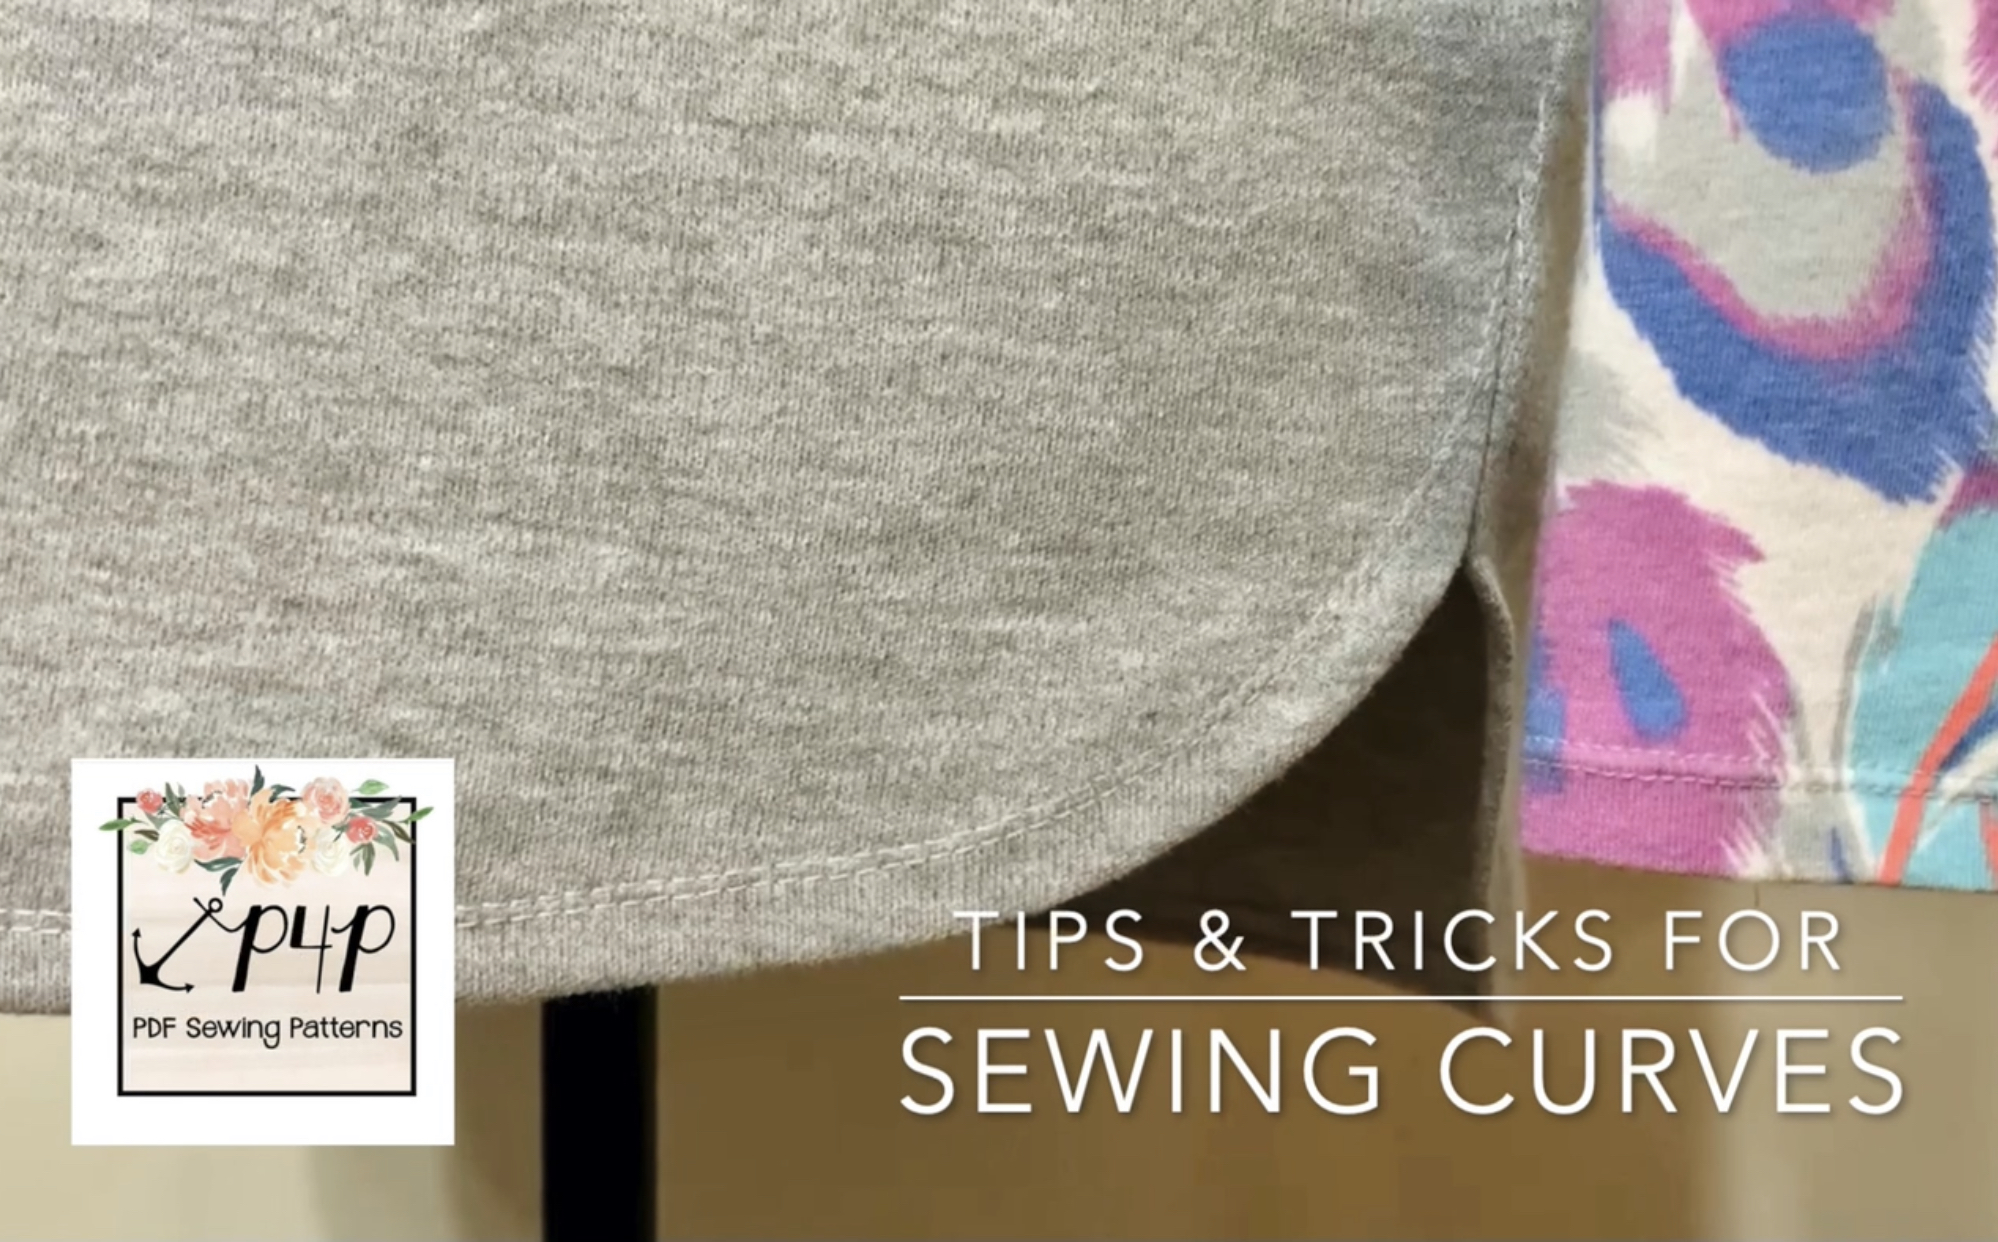
Knowing how to properly sew curves makes a huge difference in giving your garments a more professional finish! There are different techniques, whether you are sewing a convex or concave curve… think neckline versus bust. At the core, the key is all about eliminating bulk and resistance so your curves can lay as designed.


Clip The Seams

The first technique works for curves, like necklines, that require the fabric to spread in an array. It’s simple!


Once you have your pattern pieces stitched together, clip into the seam allowance every half inch or so. Take good care not to snip through your seam!


You’ll notice that the fabric relaxes because the tension in the curve is gone!


To demonstrate, I’ve added a facing to the neckline of the Brunch Blouse. After stitching together and clipping my seams, I turned the facing to the inside of the shirt and gave it a good pressing.


Look at that result!


Grab Those Pinking Shears

Pinking shears can pretty much do it all… they can reduce bulk and relieve tension in your curves. Even more, they stop fabric from fraying!


To demonstrate, I’ve stitched up the front bodice of the So Classic Sundress. This gorgeous pattern features princess seams. You definitely want to reduce the bulk in those princess seams that run right along the front of your bust!


After stitching my pieces together, I trimmed the seam allowance with pinking shears and pressed the seam open.


Here’s the result!


Your Serger is Magic


Once I learned how to gather on my serger, I wanted all the ruffles! It turns out that you can also make small adjustments that will help you to achieve the perfect curved hem on knits.


All you need to know… turn up that differential dial! You’ll want to test on a few scraps to determine how much to adjust the dial.


In this instance, tension is your friend! You want to create slight tension along the raw edge of your hem. That will cause the hem to naturally turn inward and help you to maintain that beautiful curved edge without fighting fabric folds. All you have to do is pin and stitch!


My fabric was a heavier knit so I adjust the differential feed all the way up. A lighter knit wouldn’t require the same adjustment.


Again, once I learned this trick, it changed my relationship with curves! I love it.


I hope you find these techniques helpful! 


Oh! And here's the finished result of the Brunch Blouse that I was working on in the first step.


Happy sewing!


Over the past year, I've been writing a lot of tutorials for pattern hacking.


Pattern hacking? Whether you call it by this term or another, if you sew, you've likely made changes to a pattern to express your own unique style. You've hacked a pattern!


I personally love these assignments because they really help to stretch my imagination and creativity.


Do I fail? You betcha! Do I succeed? Heck yeah. 


Am I a better maker because of it all? Ab-so-freakin'-lutely.


I have all of this content that I've been creating for independent designers and I realized I should be sharing it here, too. So, I'm on a mission to catch things up a bit.


Starting with the new Patterns for Pirates Vintage Jumper.


Believe me when I say I have NEEDED a reason to make a cute pair of overalls. It's been on my "to make" list for at least the past 3 years. So, I jumped at the chance to work these up.


Holy moly, they are so cute!!


For the Vintage Jumper, you’ll need 1 ¼” buckles. I ordered mine from WAWAK and they came within 2 days, but you can also order from Amazon or pick them up in your local fabric store.


For this pattern hack, I added buckles, rather than the buttons that the pattern calls for. Here's the how-to:


Prefer written instructions? Happy to help!


Mark your button placement on the bib with tailor’s chalk, 1” from the top and side edge of the bib.


Take your button post and push it through the backside of your bib, at your chalk mark, going through all layers of your fabric.


Protecting the front side of your button (as I’ve done here with a simple cloth bag), hammer the button post into the button.


Thread your straps through the buckles, starting with the top…


Running through the bottom…


Back through the middle…


And behind the front of the strap, back through the top loop.


Give yourself plenty of play in your straps to make fit adjustments.


Adjust the straps to your preference and you’re done!


I have always loved overalls! I am so glad to have this updated pair in my wardrobe. As with all Patterns for Pirates makes, you can’t stop with one. I already have the fabric ready to make another pair soon.


I sure have miss you, friends! It feels good to be writing again.


Sending you much love and good sewing juju!


I didn't expect to totally fall in love with Patterns for Pirates latest release, the Women's Loggers, but P4P knocked it out of the park again with a design loaded with options.

{ICYMI, Loggers are the love child of leggings and joggers...}


After making a pair of loungewear shorties and a pair of full-length pants from the pattern, I couldn't shake the vision of swim shorts for paddle-boarding.

I had a load of swim fabric on hand already. My pattern was already assembled from my previous makes. An opportune hour of free time smiled my way. Before I knew it, I had these adorable new shorties in my life.


{No cats were harmed in the making of these Loggers.}

I wasn't prepared for the overwhelming reception by the amazing P4P community of sewists. Many asked for the pattern hack.

So, here we go! Let's make swim shorties!
  1. Cut the pattern pieces per the pattern instructions.

  1. Cut two additional strips of fabric, 1.5" x 36". These will be your side ties.
  2. Sew together each of your center seams, leaving the outside leg seams open.


  1. Fold and press your leg bindings in half and attach to bottom of leg openings. Be sure to match your center points on the binding and legs. The center point of each will not line up at the center seam.

  1. With right sides together, sew a 5/8" seam along the outside leg seams and press open. Do not use a serger for this step. You are creating casings for your side ties.

I chose to finish my raw edges with a serger, but this is not required.
  1. Create a casing on each side of each outside leg seam by sewing a 1/2" seam. This will secure the edges and provide a new home for your side ties.


  1. Create your ties by sewing the right sides of your fabric strips together. Turn to the right side with your favorite turning tool. Cut each strip in half so that you have four ties.

  1. Insert one tie into each casing and secure the top edges in place with a basting stitch.

  1. Attach your choice of Logger's waistband options per pattern instructions.
  2. Once you try on and ruche or gather the edges to your preferences, tie a pretty side bow and cut the tie length to your liking!


And you're ready to have the cutest booty on the lake!

If you have any questions, please feel free to reach out to me. I'll be happy to help.

One last note... if you post your makes to social media using the hashtag, #loggers, be prepared for a rash of unusual new followers who cut down trees for a living.

True story.

One of my favorite things to do when creating a garment is experimenting with fabrics. Getting to know a fabric is much like understanding technology... you figure out what works for a design and what doesn't.

I especially love to take on the challenge of making a garment out of a fabric that isn't recommended. And again, sometimes it works and sometimes it doesn't! I have lost a lot of fabric to the cause...

I'm happy to report about a case in which it did work in my favor!

Meet the Evelyn Romper by Oh Lu Lu and the Summer Kimono from Patterns for Pirates. I don't typically wear cute pajamas to bed... I'm more of a t-shirt-and-flannel-pants kind of gal, but some sweet fellow sewists talked me into it.


This patten is drafted for woven fabrics, which are cut on the bias. However, I used my favorite rayon spandex and cut with the grain. When patterns call for fabric to be cut on the bias, they are capitalizing on the amount of stretch that is inherently part of the weaving process.

Because my fabric already had 4-way stretch, I didn't want to add additional stretch and risk the garment bagging out on me. I assumed that cutting with the grain would prevent excessive stretch and allow for the right amount of feminine flutter that makes this romper so pretty.

Instead of making trim, as the pattern outlines, I chose to use some gorgeous 2 1/2" stretch lace trim. It coordinated with the navy rayon spandex perfectly! I folded it over the raw edge and attached with a zig-zag stitch along the scalloped border and the folded edge.


My plan was to add a couple of extra inches to the length with some additional lace around the legs, but, sadly, I didn't have enough on hand!

So, it's very short. Very short.

But I have to say... rayon spandex is a perfect fabric for this garment! It's incredibly soft and very easy to work with. Sleepwear made from this amazing fabric will always be great choice.


All in all, the Evelyn Romper came together without an issue! I would highly recommend this pattern to anyone interested in sewing sleepwear or lingerie.

So, so dreamy...

I also worked up a Summer Kimono, using a heathered rayon spandex and stretch lace, during the recent Phee Fabrics Sew-a-Long. Whitney did an amazing job of walking us through the construction process!


I didn't realize how badly I needed a simple, pretty robe in my life until I put this one on. I've hardly taken it off since.


The Summer Kimono can also be layered over daily wear, too! It's definitely not meant to be hidden at home! Be sure to check out the Sew-a-Long resources and work up one of your own.

I challenge you to experiment with your fabrics, too! You might be surprised to find what works in an unexpected way.
If you'd ever told me that a performance fabric could look this chic, I would have thought, "Yeah. Okay. Not on me..."

But then I met supplex...


If we're connected on Instagram, then you know 2018 has been a year of firsts for me. And many of those firsts have been sewing-related. I made a bikini... I made activewear... I made underwear... I made outerwear! So many garments that I never even thought about making before. All inspired by the fabrics that I've found at Phee and the drive to stretch my self-imposed boundaries.

So, when I saw this peacock supplex, I knew I had to cut into it! So often, when you work with knits, you wrestle with the texture of the fabric fighting against you. It can be too stretchy. It can be slippery. It can be too thin. It can have poor recovery.


Not supplex.

This dreamy fabric is heavy enough to make any garment - pants, dresses, jackets... even sports bras! I went for a pattern that has been in my collection for some time, the Wiggle Dress by Patterns for Pirates.

All-in-all, this dress came together beautifully. The supplex was a dream to cut and sew. I struggled a bit with the zipper and ultimately wound up hand-sewing it in. That additional effort took this very form-fitting dress from looking cheap to chic.


I tend to be very self-conscious and I was very worried about showing off the ten pounds that I've gained this year! But, I have to say that I feel pretty sexy in this dress!

The supplex has a great compression factor and helps to smooth out some of the areas that I was most concerned about. Whether or not I actually find the confidence to make it out of the house is another matter.


But should the occasion arise this holiday season, I am party ready!